Come to learn how to install
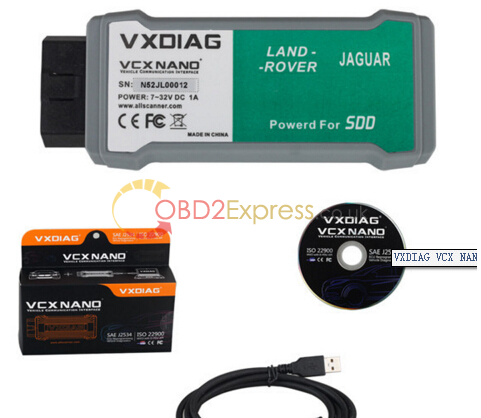
VXDIAG VCX NANO for Land Rover and Jaguar SDD V143.
Operation system:
Windows XP
JLR SDD installation guide:
Preparation
Part 1 Install SDD
Part 2 Install VDF_JA
Part 3 Install VDF_JV
Part 4 Install Additional Pinpoint Tests
Part 5 Install SDD 143.01.001
Part 6 Install VDF_LA
Part 7 Install VDF_LV
Part 8 Install VX Manager
Part 9 Install software for USB ...
Part 10 Install JLR SDD
Part 11 Run JLR SDD
Part I2 Install Deep Freeze
Preparation
Note: please disconnect the internet connection when installing and using JLR143.
Click the laptop icon on the Desktop menu bar to open network connection.
Disable all network connection Local Area Connection & Wireless Network Connection &....
Part 1 Install SDD
Open My Computer>>143-1(F:), to copy “Driver” “DF5td” “DFStd_KEY” to Desktop.
Open “SDD143.00_FULL”.
Select setup language to continue.
Click Yes to restart your computer.
Click Next.
Installing...
Click Next for installing SDD.
Select “I accept... agreement” and click Next.
Tick on “I have read and understand...” and click Next.
Destination: click Next.
Languages: click Next.
Click Install to begin installation.
Installing SDD...
Click Next to install M0XA UPort 1110/1130/1150 Windows Driver.
Destination location: click Next.
Start menu folder: click Next.
Click Install to begin installation.
Installing M0XA UPort 1110/1130/1150 Windows Driver.
Click Finish for installation of M0XA UPort 1110/1130/1150 Windows Driver.
Go on installing SDD...
Click Finish when successfully installing SDD and restart your computer.
Part 2 Install VDF_JA
Open My Computer>>143-1(F:)>>VDF_JA_143.
Choose setup language.
Installing...
Click Finish after successfully installing VDF_JA.
Part 3 Install VDF_JV
Close all the interface, and reopen My Computer>>143-2(F:)>>VDF_JV_143.
Choose setup language.
Installing...
Click Finish after successfully installing VDF_JV.
Part 4 Install Additional Pinpoint Tests
Open My Computer>>143-2(F:)>>SPA_143.
Prompt: Additional Pinpoint Tests will be installed as a background task. Click OK.
Installing Additional Pinpoint Tests.... (wait for about 1 hour)
Click Finish after installing Additional Pinpoint Tests.
Part 5 Install SDD 143.01.001
Close all the interface, and reopen My Computer>>143-3(F:)>>SDD 143.01.
Click Yes to restart your computer.
Installing SDD 143.01...
Click Finish after installing SDD 143.01.001, and restart your computer.
Part 6 Install VDF_LA
Close all the interface, and reopen My Computer>>143-3(F:)>>VDF_LA_143.
Choose setup language.
Installing...
Click Finish after installing VDF_LA.
Part 7 Install VDF_LV
Open My Computer>>143-3(F:)>>VDF_LV_143.
Choose setup language.
Installing...
Click Finish after installing VDF_LV.
Part 8 Install VX Manager
Open Driver on Desktop, then to open VX Manager1.0.5.0612.
Click Next to install VX Manager1.0.5.0612.
Click “I accept the agreement” and Next.
Click Next.
Installing VX Manager...
Installing VCX SDK Driver...
Click Close when installation complete.
Click Finish when VX Manager is installed successfully.
Restart your computer.
Part 9 Install software for USB ...
Found New Hardware Wizard: click Next, with selection of “Install...(Recommend)”.
Installing...
Click Finish for installing software for USB Serial Converter.
Found New Hardware Wizard: click Next, with selection of “Install...(Recommend)”.
Installing...
Click Finish for installing software for USB Serial Port.
Right click My Computer for Manage.
Select Device Manager>>Ports (COM&LPT)>>USB Serial Port (COM4).
Then close computer management.
Part 10 Install JLR SDD
Open VX Manager on Desktop.
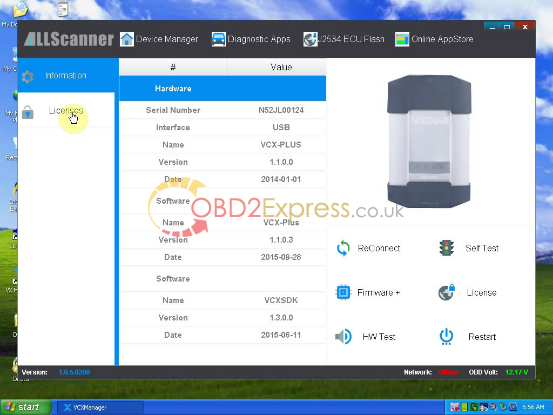
Click License to read and then back to Information.

Select Diagnostic Apps>>My Apps>>JLR SDD.
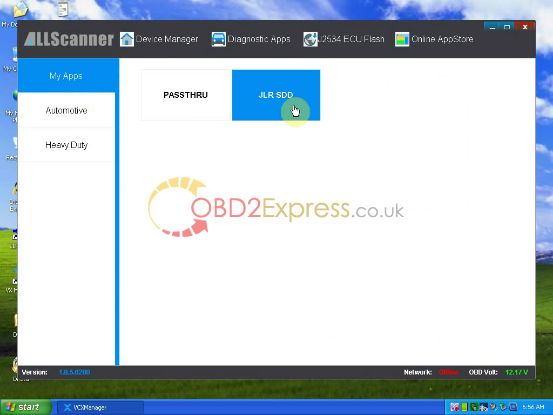
Click Install.
Click Close when installation complete.
Close all the interfaces.
Part 11 Run JLR SDD
Open JLR SDD on Desktop.
Close Setup Windows Internet Explorer 8 interface.
Internet Explorer - Search Provider Default: click OK.
Manage Add-ons: click Close.
Loading...
Click Continue.
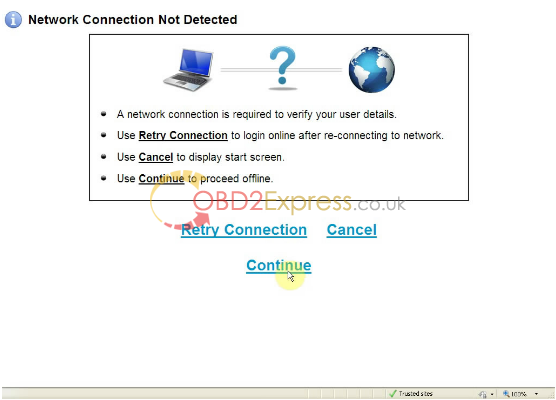
Click Continue.
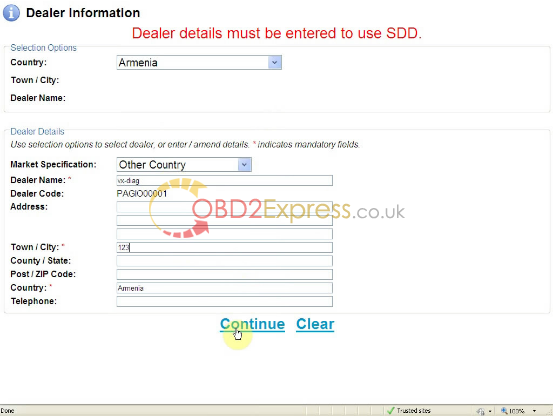
Enter dealer information and click Continue.
SDD warning: click Continue.
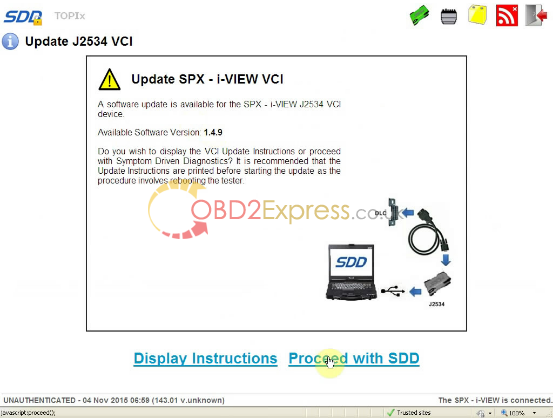
Click Proceed with SDD.
Enter VIN, and click Identify Vehicle.
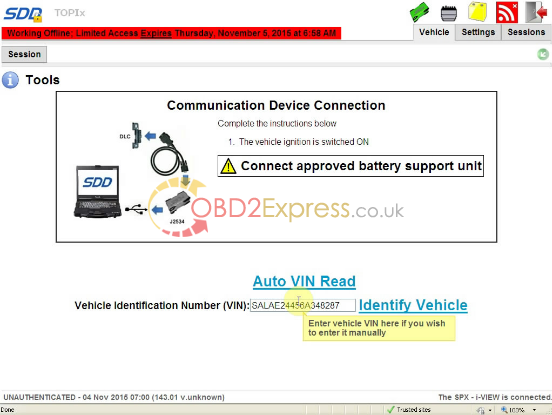
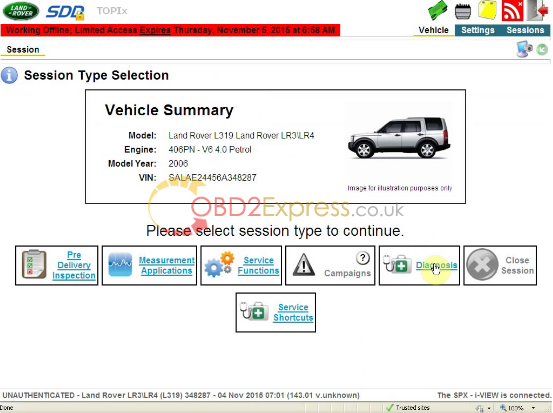
Click Proceed with SDD.
Select Low line instrument cluster, and save data.
Click Diagnosis.
Select Powertrain>>Engine system>>Engine cooling, and click Continue.
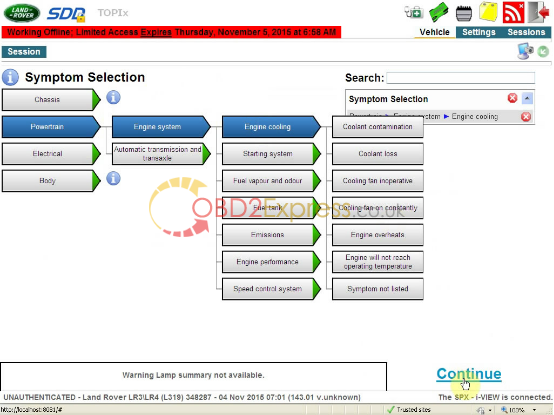
Select CAN_HS>>PCI>>Rerun data collect for this module.

Click Diagnosis at the bottom.
Click Continue.
Loading recommended candidates...
Close the interface .
JLR Application Launcher: select Stop Application.
Part I2 Install Deep Freeze
Open “DFStd” on Desktop.
Click Next.
Click “I accept...agreement” to go on.
Open “DFStd_KEY” on Desktop, to copy the license key for entering. Click Next.
Click Next, with the only selection of C: (cancel ticks on D: & E:)
Click Install.
Then restart your computer after installation Deep Freeze.
Done!
Top 5 Reasons to get VXDIAG VCX NANO:
1. Replacement of OEM tool of SPX VCM and i-VIEW
2. Support all protocols of Land rover and Jaguar
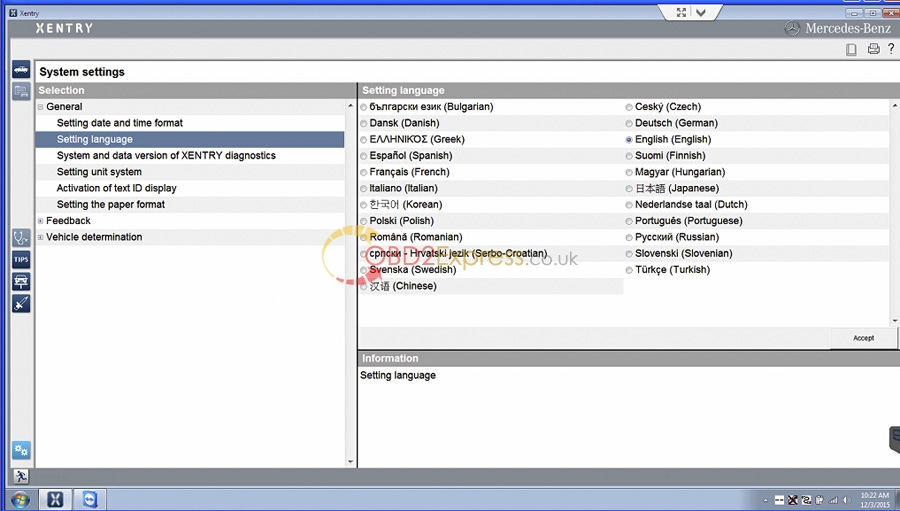
3.Multi-languages:English/Japanese/Portuguese/Romanian/Korean/Dutch/Polish/Turkish/Spanish/French/Italian/Croatian/Danish/German/Swedish/Finnish/Slovenian/Czech/Russian/Greek/Chinese
4. Supported Car Models: Diesel and gasoline cars
5. Update by CD, without firmware locked